Sunday, April 27, 2014

Finalized Electrical/Program/Mechanical Aspects, Labeled Important Items, Tested Final Robot - Matt/Mike/Patrick

Friday 4/25

Matt tested the GPS and compass making the final adjustments to offsets and other key values.  He then soldered a relay to the gun so it would release projectiles when a signal was given.  Matt and Patrick then tested the airsoft gun to make sure it would fire.  It didn't.  This is because EMF spikes were occurring, the gun had plastic shavings from the cuts, and the four 1.5V rechargeable batteries we were using couldn't provide enough power to the gun motor.  At first we swapped the airsoft gun with the nerf gun.  The same problems were still present.  To fix this we decided to use another battery.  The nerf gun was too heavy so we switched back to the airsoft gun after Patrick used compressed air to clean it.

Mike spliced wires for the master switch ad soldered them together to make the LED only turn on when the switch is on.  He also soldered wires to each guns.  With help from Matt, he then soldered wires to the relay.  He prepared the nerf gun to act as a backup just in case the airsoft gun didn't work.  He then helped Patrick label.

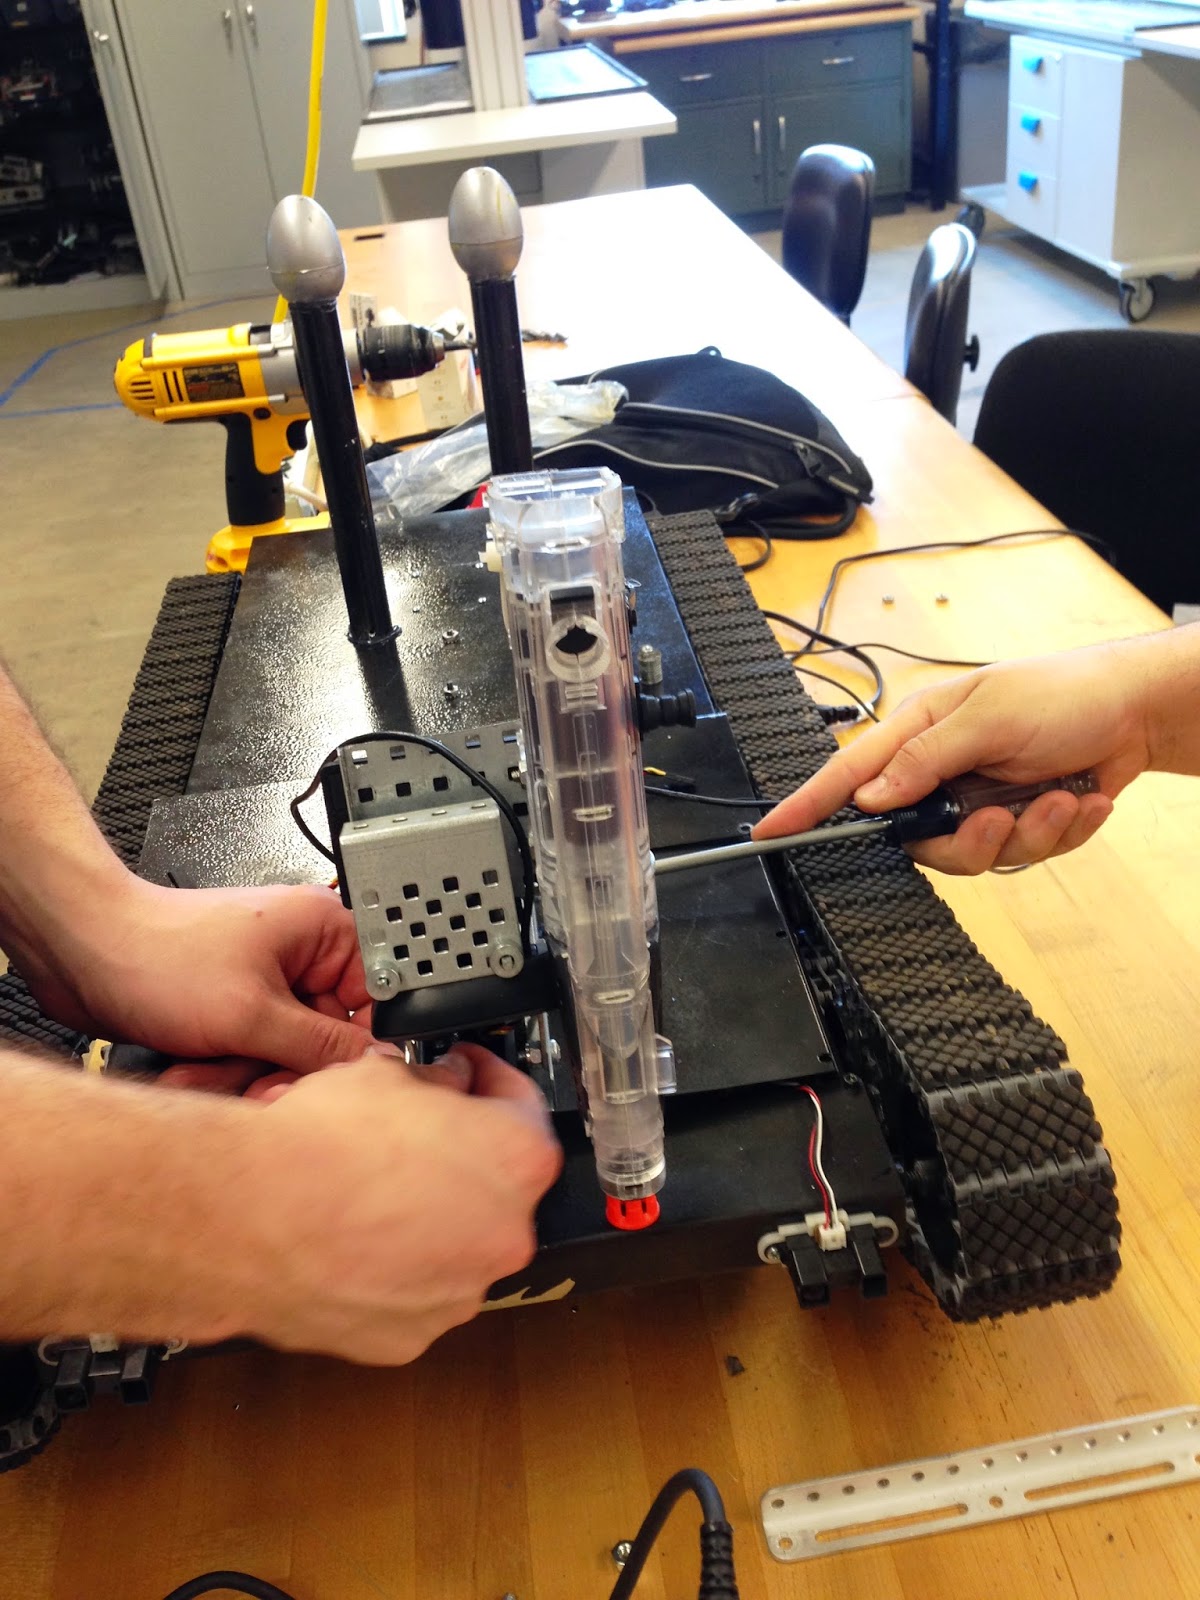
I, Patrick, made labels for the various electrical components including the on/off of the master switch, X/Y axises of the gimbal, GPS/gimbal boards, and the 5V/ground rail.  After Matt discovered the gun battery need to be switched, I took off the old ones, and mounted my 7.2V NiMH using zip ties.

After we felt everything was wired properly and where it needed to be, Matt and Patrick cleaned up the wiring.  We tested the final program outside.  Matt, Patrick, and a student off the street volunteered to have projectiles from the immobilization device launched at them.

New Gimbal and RC Camera
Shela Moving Towards Helsel
Labels for Electrical Parts
Initial Labels for Switch and Gmibal
Mike Testing Airsoft Gun
Brains Labeled
Nerf Gun Firing Test
New Battery for Gun, BBs Loaded
Shela's Test Victim: Patrick
Shela Firing Gun W/ Warning Light
Shela Patrolling Eberly
Shela Patrolling Eberly Part 2
Shela 2.0 Front View
Shela 2.0 Rear View
Shela 2.0 Side View
Shela 2.0 Isometric View (Left)
Shela 2.0 Isometric View (Right)


Rewired Switch, Shela Testing - Matt

Thursday 4/24

Matt tested all aspects of the robot and tweaked the program as necessary.  Testing included re-calibrating the compass and GPS sensors, motors, airsoft gun releasing projectiles, gimbal sweeping, etc.  He also rewired the master switch, after he realized it only would turn the onboard LED on and off.

Compass/New Gimbal Calibration, IR Integration, New Gimbal/Switch/Light Mounted, Wired Switch/Light, Rewrote Gimbal Sweep - Matt/Mike/Patrick

Tuesday 4/22

Before class, Mike took the old gimbal apart and rebuilt it so it would be stronger, smaller, and not as shaky.  The camera is now on the right underneath the gun and no longer sweeps.

Matt tested the new gimbal.  It is much stronger and smaller than before and it doesn't wobble, sway and give as much too.  He then tested the compass outside, but still had issues since the robot would spin in circles.  After class, Matt rewrote the compass program, integrated the IR, and finished soldering and wiring the switch and light.  He had to resolder the switch since Mike accidently made the leads too short.

Mike, with help from Patrick, mounted the new gimbal.  He then cut the positive lead (wire) for the battery so the switch could be soldered in.  He also soldered 5V super bright red LED to 330 Ohm resistor to be used in place of the 12V LEDs in the warning light.

Patrick punched a hole for the warning light on the cover, first drilling a hole for the the punch.  I then drilled a hole for the exposed wires so they would be as hidden as possible.  I also drilled a hole for the switch.

Mounting New Gimbal
Wiring Up New Gimbal
Mike Soldering Warning Light
Master Switch Mounted, Gimbal Wires Cleaned Up
Warning Light Mounted

Wednesday, April 23, 2014

Shela Testing (W/ Important Things Mounted): Compass, GPS, Gimbal, Gun - Matt

Monday 4/21

 Matt tried to test various aspects of the robot on the new chassis.  The compass would not work for some reason.  When he tested just the compass it would work, but if it was in the overall program it would not work.  The gun and gimbal were also not working.  If he fired the gun without the gimbal moving, it would work.  The gun was somehow feeding back to the servos controlling the gimbal, making the gun and camera look in one direction instead of sweeping.  After a short test (about 1 minute), the gimbal fell apart just like the old chassis did (we used VEX).  He tried to think of ways to fix the gimbal but nothing worked.

Tuesday, April 22, 2014

Airsoft Gun Modifications, Testing, Mount; Nerf Gun Modifications; Capacitor Bank; IR Mount; Gimbal Testing - Matt/MIke/Patrick

Friday 4/18

After the airsoft gun was mounted, Matt was able to test the shooting mechanism by "shooting blanks," or giving power to the gun with the trigger pushed, safety off and no BBs.  Sometimes the gun would get stuck; we aren't sure why.  He also tested the gimbal to see if it could still move with the gun on it; it was able to move.  An issue with the gimbal kept causing problems.  The gimbal, despite being geared down, still had a lot give and sway to it.  The gun was then all over the place.

As a backup to the airsoft gun, Mike continued to work on the nerf gun.  He cut it to make it as small as possible.  Mike then soldered a capacitor bank for the alkaline batteries.  While in the soldering state of mind, he also soldered leads to the metal springs on the airsoft gun (for the batteries normally) and to a transistor so the gun would not need batteries to fire.

Patrick cut the airsoft to be as small as possible taking off unnecessary plastic including the battery cover, the fake magazine, buttstock, and sight.  I also made sure the safety was always off and trigger was pushed to ensure the gun would always fire when given power.  I used zip ties and a rubber band.  I then drilled holes in the airsoft gun so it could be mounted to the side of the gimbal.  I mounted the gun to the gimbal so it could be tested.  I then was able to mount the IR sensors to the front plate/cover.

Modified Airsoft Gun
Mounted Sabertooth and Brains
Mounted Airsoft Gun
Gun & Gimbal Testing
Shela (W/Cover, Gun, & Gimbal)

Painted Shela; Mounted Cover, Brains, Sabertooth Gimbal, Front Plate - Matt

Thursday 4/17

Matt spray painted Shela black, taking off or covering necessary items like the cogs and treads.  He was then able to mount the the cover, gimbal, and front plate using bolts and nuts along with hot glue as needed.  He mounted the brains and Sabertooth to the bottom of the cover.  He also cleaned up wiring.

The airsoft gun also arrived.  It is the Crosman Pulse M74DP.

Crosman Pulse M74DP
Mounted Cover
Mounted Gimbal, Front Plate, & Battery Cover

Friday, April 18, 2014

Mounted Battery Holds, Made Brains Cover, Cut Compass/GPS Antenna Mounts, Drilled Cover Holes - Matt/Patrick

Tuesday 4/15

Matt was going to remount the back plate and gimbal using the JB Weld but after discussing what happened to the joints with Dr. B, he decided to drill and tap holes instead.  We also decided to make the cover and back plate one piece instead of two; we also made a front plate.  Dr. B found a piece of sheet metal for the cover.  Matt marked and measured the metal to be cut to the proper length.

Mike missed class.

I,Patrick, cut mounts for the GPS antenna and compass since the chassis was interfering with them.  I marked and measured the cover/back plate and front plate to be cut and bent by Dr. B.  I then made a battery cover since the terminals would touch the cover.  I had to make it the height of the gimbal platform since that was higher than the battery.  To get rid of sharp corners made chamfers on the battery cover.  I then drilled and tapped holes in the side rails to keep the cover in place and mount the front plate.

GPS Antenna/Compass Mounts
Cover/Back Plate
Front Plate, Battery Cover, Brains Cover